
Your home’s most overlooked (dirty) items
We all know we should wash our dishes, vacuum our carpets and mop the kitchen floor, but some things tend to get left behind. Maybe it’s because we’re busy, we aren’t sure how to clean these items or we secretly don’t want to clean that stinky trash can—for whatever reason, we just don’t put these items on the cleaning schedule.
But just like washing dishes is an important part of knowing how to clean your kitchen and scrubbing the toilet is key to how to clean your bathroom, it’s important not to neglect even the most forgettable of tasks (especially how to do laundry—ugh!). If you have a sinking feeling there are things you probably aren’t washing enough, we’ve got expert advice to help you get your house in order.
Get Reader’s Digest’s Read Up newsletter for more cleaning, humor, travel, tech and fun facts all week long.

Pillows
Of course you wash your sheets and pillow cases, but when’s the last time you threw the actual pillows into the wash? Chances are, it’s been way too long. And that matters because pillows collect dust and bacteria. You need to give them a good washing to get rid of sweat, smells, bacteria, body oils and dust mites. As an added bonus, regularly washed pillows will last longer.
How often you should wash them: Marla Mock, president of Molly Maid, says you should wash your pillows twice a year. If you live in a warm climate, up that recommendation to every three months.
Check the tag first. Some pillows, like those made of foam, can’t be machine washed. Luckily, any type of pillow, from feathers to polyester to foam, can be hand washed. Fill your bathtub with warm water and a few drops of detergent. Submerge the pillow and gently squeeze. Rinse well.
If your pillows are machine washable, follow the instructions on the tag, and wash two at a time to balance the washer. Dry on low heat, and throw in a few tennis balls to fluff and separate the fill. If the pillows aren’t dryer safe, wrap them in towels to absorb most of the moisture, then air-dry.
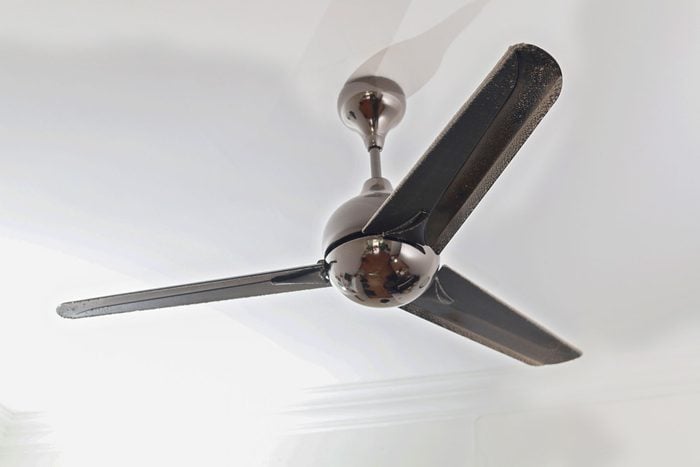
Fan blades
It’s hard to believe just how much grime a ceiling fan can accumulate, especially if you never look up. Luckily, you can clean ceiling fans quickly and easily—all you need is an old pillowcase and a ladder, according to Mock. (Telescoping dusters are an option too, but they can make a mess.)
Why bother with this (admittedly dull) task? Dirty ceiling fans can throw the rotation off kilter. And let’s face it, they just plain look bad.
How often you should clean them: Once a month or so, depending on the season and how dirty they get. Disconnect the power to the fan, and position your ladder underneath. Slip the pillowcase over each blade, one at a time, and pull the dust to you, catching the debris inside the case. Next, Mock says to grab a lint-free cloth sprayed with an all-purpose cleaner to remove residual grime and clean the base and light fixture.
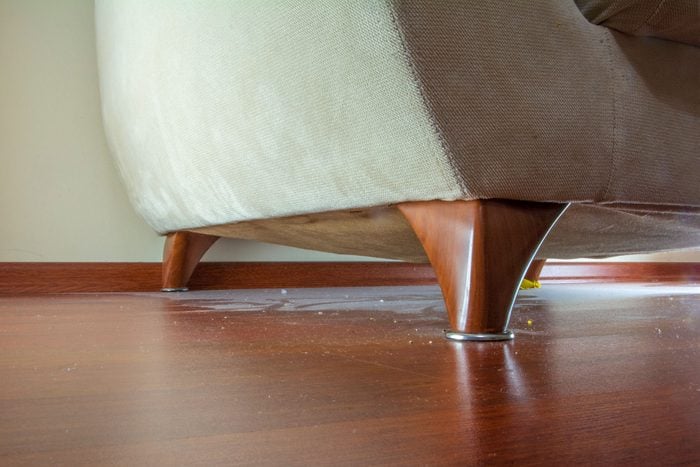
Floors under your furniture
Out of sight, out of mind, right? Unless you’re routinely digging around for lost socks or kids’ toys, it’s easy to forget how to get rid of dust lurking under furniture. “Dust and dirt love to hide under beds, sofas and other large pieces of furniture,” Mock says.
How often you should clean there: Once a month, clean the floor under your furniture. If you have hardwood floors or tile, a long-handled dust mop works well, but for carpeted areas, Mock suggests grabbing your vacuum cleaner. Pro tip: Move the furniture, if needed, to access all the hidden dust bunnies.
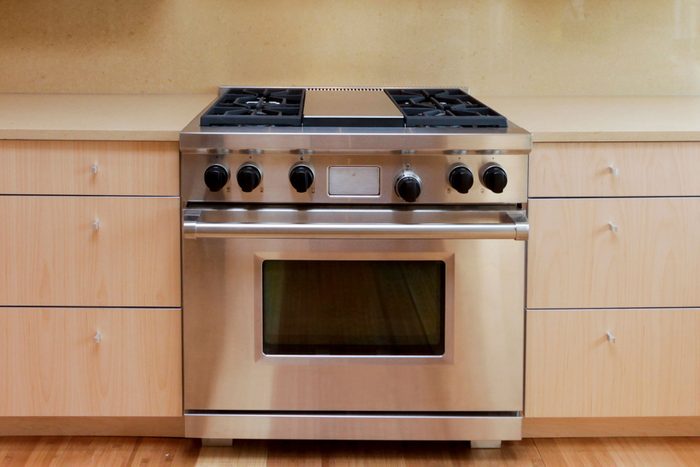
Between your oven and cabinets
The gap between your oven and your cabinets collects all sorts of gross stuff: crumbs, spills, splatters and who knows what else. That can lead to a smelly kitchen and can even attract bugs. If your kitchen gaps need attention, tackle them in two steps: First, you need to clean those crevasses, Mock says, then find a way to keep them from filling up with gunk again.
How often you should clean them: Every time you clean your stovetop, or on an as-needed basis.
Wrap a butter knife in a damp washcloth and drag it through the gaps, holding the knife at an angle to keep crumbs from falling to the floor beneath the oven. Do that a few times, then repeat with a cloth dampened with vinegar to remove any remaining grime. Once it’s clean, fill the gap with a commercial product designed for that purpose, or make your own deflectors with rubber weatherstripping. Then finish tidying up by finding a place for all those things you shouldn’t be storing on your kitchen countertop.

Silverware tray
Reaching for a fork and emerging with a handful of crumbs isn’t exactly appetizing. Blame it on the dishwasher not doing its job, your kids’ grubby fingers or the drawer being left open—whatever the culprit, a fresh clean drawer will make your kitchen sparkle.
How often you should clean it: “Once a month, remove all your silverware from the tray and dump out the debris over your trash can or sink,” Mock says. Mix two parts water to one part distilled vinegar in a spray bottle or bowl, and use that to wipe out the container. If the tray is dishwasher safe, you can also just run it through a cycle. (But don’t do that with real silverware! Here’s how to clean silver to make it shine.)
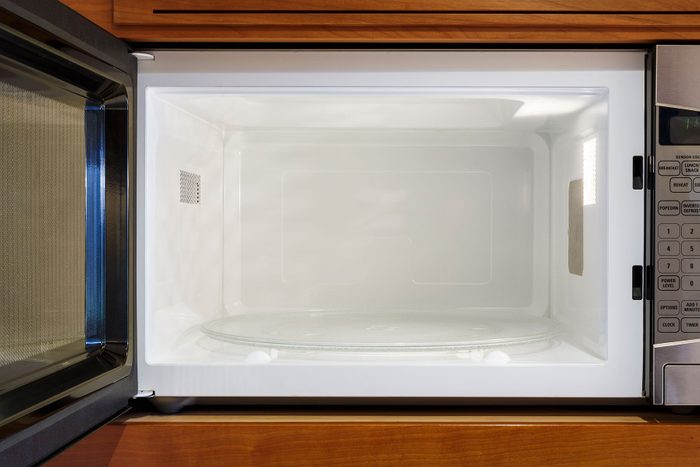
Ceiling of your microwave
How tall are you? Is your microwave sitting below eye level? You may be missing some essential splatters.
“Many foods splatter up when they cook,” Mock says, “and depending on your height or the placement of your microwave, you might not see how messy the ceiling of the appliance has gotten.” So the next time you clean your microwave (which should be once a week), don’t forget the ceiling.
How often you should clean it: Give it a weekly wash. Mock has an ingenious way to get your microwave sparkling: Combine 1/4 cup of vinegar and 1 cup of water in a microwave-safe bowl. Zap the solution for three minutes.
“The walls of the oven’s interior will be coated with scalding-hot, acidic humidity,” she says. Carefully remove the hot mixture with oven mitts, then tackle the entire interior, including the ceiling, with a scrubby sponge.

Remote control
Clicker. Remote. Channel changer. Whatever you call it, this high-touch device is shared by everyone in your home, which means it has an opportunity to collect germs. So many germs. (News flash: The remote is one of the most germ-ridden items in a hotel. Ick!) Needless to say, it’s important that you don’t neglect it when cleaning your home.
How often you should clean it: Once a week, wipe down your remotes with disinfecting wipes to kill germs, especially during cold and flu season.
And if you’re a little laissez-faire about the TV, up the cleaning frequency there as well, to avoid dust buildup in vents, speakers and crevices. For the TV screen, a quick weekly swipe with a microfiber cloth should be the extent of your television maintenance, according to Mock, unless you’re dealing with sticky hands or spills. Only use cleaners made for TVs, and avoid damaging your device with improper cleaning: “Always spray into your cloth, never directly on the device,” Mock says.
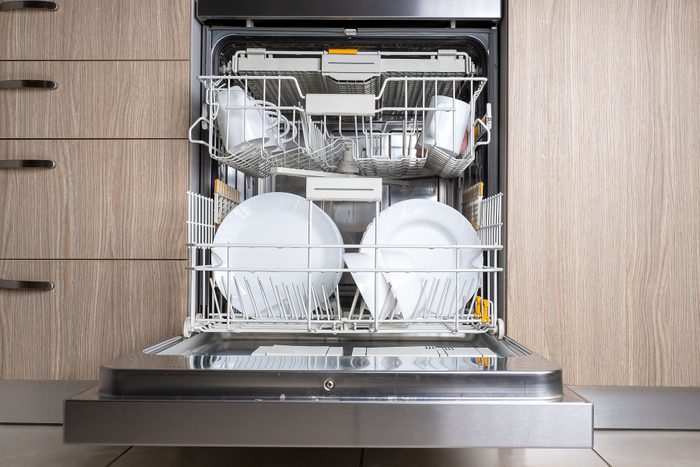
Dishwasher
Appliances that clean things, like dishwashers, don’t need to be cleaned themselves, do they? They sure do, according to Haven Polich, product manager of appliance company ASKO Americas. “Yes, regularly scheduled cleanings of your appliances are essential for both washing performance and the machine’s longevity,” she says.
How often you should clean it: Aim to clean your dishwasher once a month, or every other month if you don’t use it that often. “Pay special attention to the drain strainer and floor of the dishwasher,” Polich says. Use the self-cleaning mode if your dishwasher has one. “If your machine doesn’t have this feature,” she advises, “vinegar is a great natural cleaner to remove the buildup of detergents or hard-water stains.”
One more tip: Don’t use too much soap when doing dishes. Overuse of dishwashing detergent can cause a buildup that bacteria thrives on and can shorten the life of your dishwasher.

Windows
“I don’t do windows.” People of a certain age may remember this saying, as windows used to be notoriously hard to clean. Today’s tilt-in designs make window cleaning much easier, but it’s still not a chore we love. Cleaning them on a regular schedule, however, will increase the lifespan of this major investment, says David Flax, president of Window Genie.
How often you should clean them: Two to four times a year. Wind-blown dust and dirt can actually etch glass, and these imperfections naturally collect grime over time. Dirty window screens (more on that later) can make the problem worse. Flax recommends using a mild detergent, like dish soap and water (aka the best window cleaner), a window-washing mop or lint-free towel, and a squeegee. Scrub the windows to loosen the dirt, repeating if necessary, then squeegee the glass clean. Wipe down the edges with a lint-free towel.
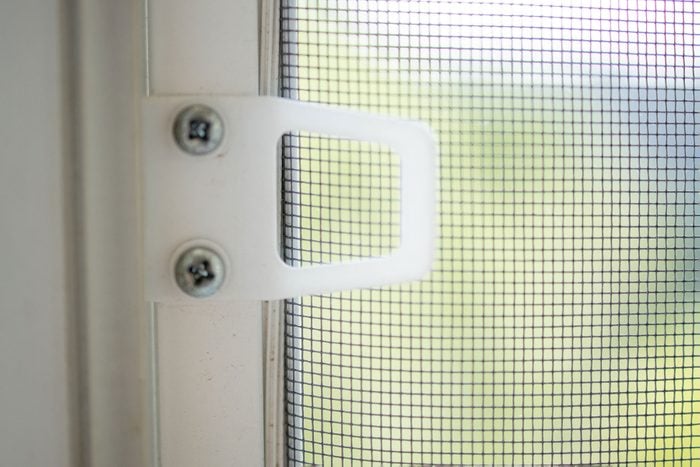
Window screens
Speaking of washing windows, when’s the last time you cleaned your screens? If the answer is “never,” it’s time to start. Your windows—and your view—will thank you. “A dirty screen can be the worst enemy if your window panes are sparkling clean,” Flax says. When it rains, dirt and dust go right through, “instantly making your windows dirty again.”
How often you should clean them: “You should aim to clean your window screens at least once a year,” Flax says, “preferably in the spring, before bug season gets into full swing.” Take them out, then gently brush them on both sides and in both directions with a dry brush. Rinse with a hose and air-dry (a sunny day makes this quicker). If you have a large tub and some window-washing solution, that’s an option too. Keep track of which screen goes where to make sure they fit when you put them back.
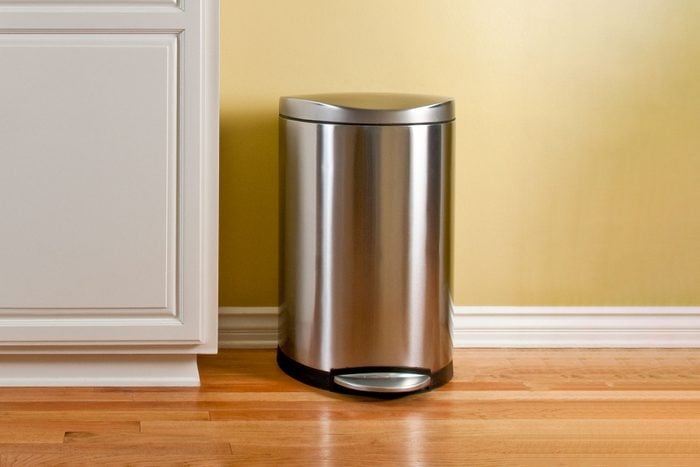
Trash cans
Even if you’re diligent about taking out the trash, kitchen trash cans somehow always get filthy and smelly. Bags rip, sauces spill over the sides, and who hasn’t tossed some trash only to find, mid-throw, that there’s no trash bag? Face it: Your trash cans are a mess, and whether you feel like it or not, you need to clean them.
How often you should clean them: Polich says that every few weeks, or once a month at least, it’s time to take the whole can out and give it a good cleaning.
First, remove all trash and food remnants. Then take it outside if possible and spray it down with a garden hose. (Your bath or shower could work here too.) Scrub the can inside and out with a nontoxic cleaner (if outside), such as dish soap or vinegar and water. Then give the trash bin a good rinse. Deodorize and remove stains by sprinkling the interior with baking soda, scrubbing it into a paste and letting it sit for a few minutes. Rinse again, and let it dry in the sunshine.

Shower door track
Knowing how to clean glass shower doors is a must, but too often we focus on only the glass. The track that the doors run on is an oft-neglected slot, and it collects soap scum, hard-water deposits and mildew. But Jeramy Sibley, president of Glass Doctor, has an ingenious method to keep your shower track gleaming.
How often you should clean it: To keep your shower tracks sliding smoothly, clean them once a month, or whenever you notice buildup or feel the door catching.
Microwave some distilled white vinegar for about 30 to 45 seconds. Wearing rubber gloves, dip paper towels into the vinegar and lay them in the tracks. (Need to clean the glass too? Just slap the paper towels on the door and mist the glass periodically to keep things moist!) Let them sit for 30 to 60 minutes, then remove. Sprinkle baking soda on a damp sponge and scrub the track and glass gently, then rinse with distilled water.
The secret to keeping the track and frame shiny? Car wax! Rub a little on, then buff with a microfiber cloth. “A light coat of WD-40 or silicone spray on the rollers, and you will be good to go,” Sibley says.
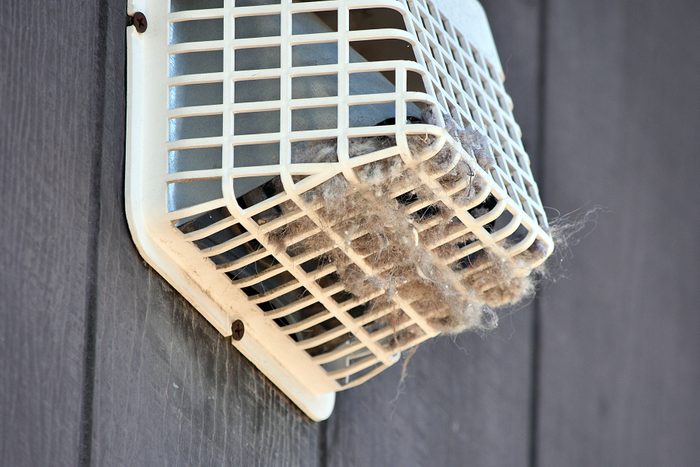
Dryer vent
Clothes dryers cause thousands of house fires per year, often due to lint and dust igniting. Kevin Busch, president of Dryer Vent Wizard, says most people are pretty good about cleaning the lint screen but often neglect the dryer vent (that’s the one that exhausts outside your house). Translation: This task isn’t just about tidiness; it’s about your family’s safety.
How often you should clean it: Busch says that leading appliance manufacturers recommend cleaning dryer vents once a year to prevent hazards.
You can clean the vent yourself with a dryer vent brush, or you can hire pros. Safety first, though: Unplug the dryer and turn off the gas valve before starting, and wear a dust mask and eye protection. Keep the laundry room clean too. “It’s critical to keep the area around your dryer free of dust and debris,” Busch says, “as it allows the dryer to work more efficiently and lowers the risk of fire.” What to do with the lint? Try these dryer lint hacks.
About the experts
- Marla Mock is the president of Molly Maid, a national cleaning service that matches busy individuals and families with capable and local house cleaners.
- Haven Polich is a product manager at ASKO Americas, a Scandinavian kitchen and laundry appliance manufacturer that makes dishwashers, washers and dryers, and more.
- David Flax is the president of Window Genie, a company specializing in window cleaning, window tinting, pressure washing and gutter cleaning.
- Jeramy Sibley is the president of Glass Doctor, which offers complete glass repair, replacement and services to the residential, automotive and commercial markets.
- Kevin Busch is president of Dryer Vent Wizard, a company providing professional dryer vent cleaning services, lint trap cleanings, clog removals and more.
